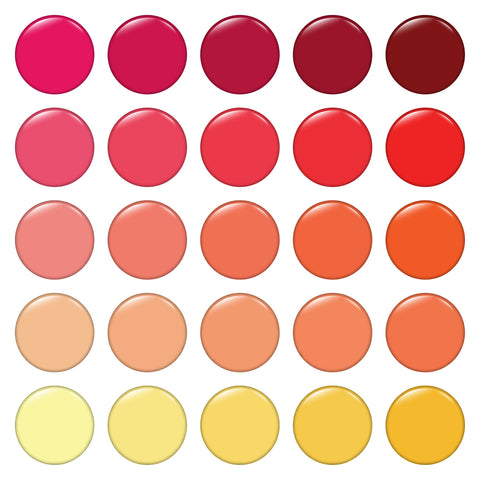
Your personal style is everything, and customized is the only way to go. Here are the seven stages of finding your own custom blend collection for the first time with Taylor Made’s Make Your Own Polish Kits. And don’t worry, it’s NOT like riding a bike – you can get your look on the first try!
Stage #1: Asking the Right Questions
Before you start, you should ask yourself the right questions to plan your custom collection. These include:
- Do you wear polish all of the time?
- Do you need a color that goes with everything?
- Do you change your color palette from season to season?
With these questions answered, you can move on to Stage 2 with all the right information.
Stage #2: Decide on Numbers
The next stage in the process is deciding how many colors you’d like for your collection. We recommend having a 2-4 color palettes. If you’re not wearing polish every day or every other week, we suggest 2 color palettes – one for Fall/Winter and a second for Spring/Summer. However, if you feel naked without polish – check out our seasonal colors for warm, cool, and neutral skin tones and embrace having a color palette for every season.
Stage #3: Check Your Wardrobe
Prioritizing the seasons and what compliments your skin tone will be a great starting point for your collection, but once you’ve decided on those details, take a look at your wardrobe and to make a collection that compliments your go-to styles. If you love neutrals, you may want pops of color, or complimenting subdued shades depending on your personal tastes. If you wear lots of color, make sure your palettes won’t clash.
Stage #4: Imagine Your Colors and Pick Your Kits
After Stages 1-3, you should probably have a vision in your head of the colors you’d like to create. Because our kits create thousands of color possibilities, pick the kit that showcases your hue family the best.


Stage #5: Add Your Twist
To make your palette, use our base recipes in your selected kit and then tweak them to match your perfect color. Too dark? Lighten it up. Need a red with a black cherry tint? Create our classic red recipe, add a bit of shimmer, and a few drops of purple! Customization is easy and encouraged.
Stage #6: Don’t Forget to Name and Date
Your colors aren’t complete without a name and date. Get inspired by the seasons and your color creations and have fun with names (link to Naming Fun Blog). We always recommend dating your colors to keep them fresh, and as a reminder to when you need to liven up your self-care with some more color creation.
Stage #7: Have Fun With Your Collections!
Once you have your perfect custom collection, don’t be afraid to change it up from your classic manicure. Try a skittle mani with your seasonal colors, or use a color from one seasonal collection and accent your tips with a diagonal stripe from another. Nail art and creativity are the best way to keep your colors fresh all season long.


